PRE PRODUCTION
SET DESIGNS
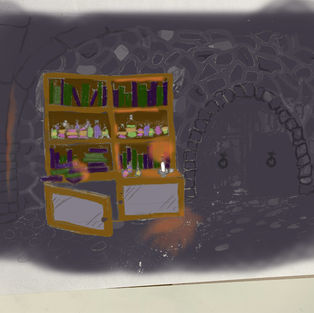
Building a set has a lot of work before the sculpting begins. First I draw some thumbnails, to figure out how I want it to look, and then I design different props that can be included in the set, the more the better. Even if some props aren't used, it's more efficient to have too many than too little. I begin with the smaller objects, and move on to the bigger objects. In a street scene, that would be from store signs, up to building designs. While designing these aspects,
I start with the shape I want, tweaking it to fit in with the style I am going for. Then I move on to the bigger parts, such as the doors, windows, chimneys and where the store sign will go.
My next step is to plan out the layout, first a floor plan and then I build it up, into a 3/4 set up to show what it will look like in a more 3D setting. I also include some callouts for different textures or props if I can't get the level of detail in the original sketch. Finally I figure out what colours I will use, and put them in my sketches to get a better idea of what it will look like.

CHARACTER DESIGNS
Starting with a great deal of research, I will find different types of clothing, body types, hair do's, even colours relevant to the time period and location the character is from. I will then design different outfits and hair, so I can choose from my favourite. Here I did a turn around of the basic head, to get a good idea of what I want the hair to look like. From there I create a character sheet with a full turn around, starting with the front and profile, then going to the back and finally the 3/4.
I will pose the character in a way that shows off their personality, This woman is friendly, so I have her smiling and waving. Finally I will add colours and designs, fitting to the time, to the posed drawing.

PROP DESIGNS
Designing props once again begins with lots of research. Once I find a few ideas I like, I will sketch different versions. I choose my favourite and begin to draw the different views, making sure it is a direct angle. Once I finish the important directions, with as much or as little detail I want, I move on to colour. I always have colour keys off to the side, to make it easier to see that the colours match, and then I can easily pick them later on. Depending on the prop, I then decide how I need to rig, making sure to include names of what will be controlled.


